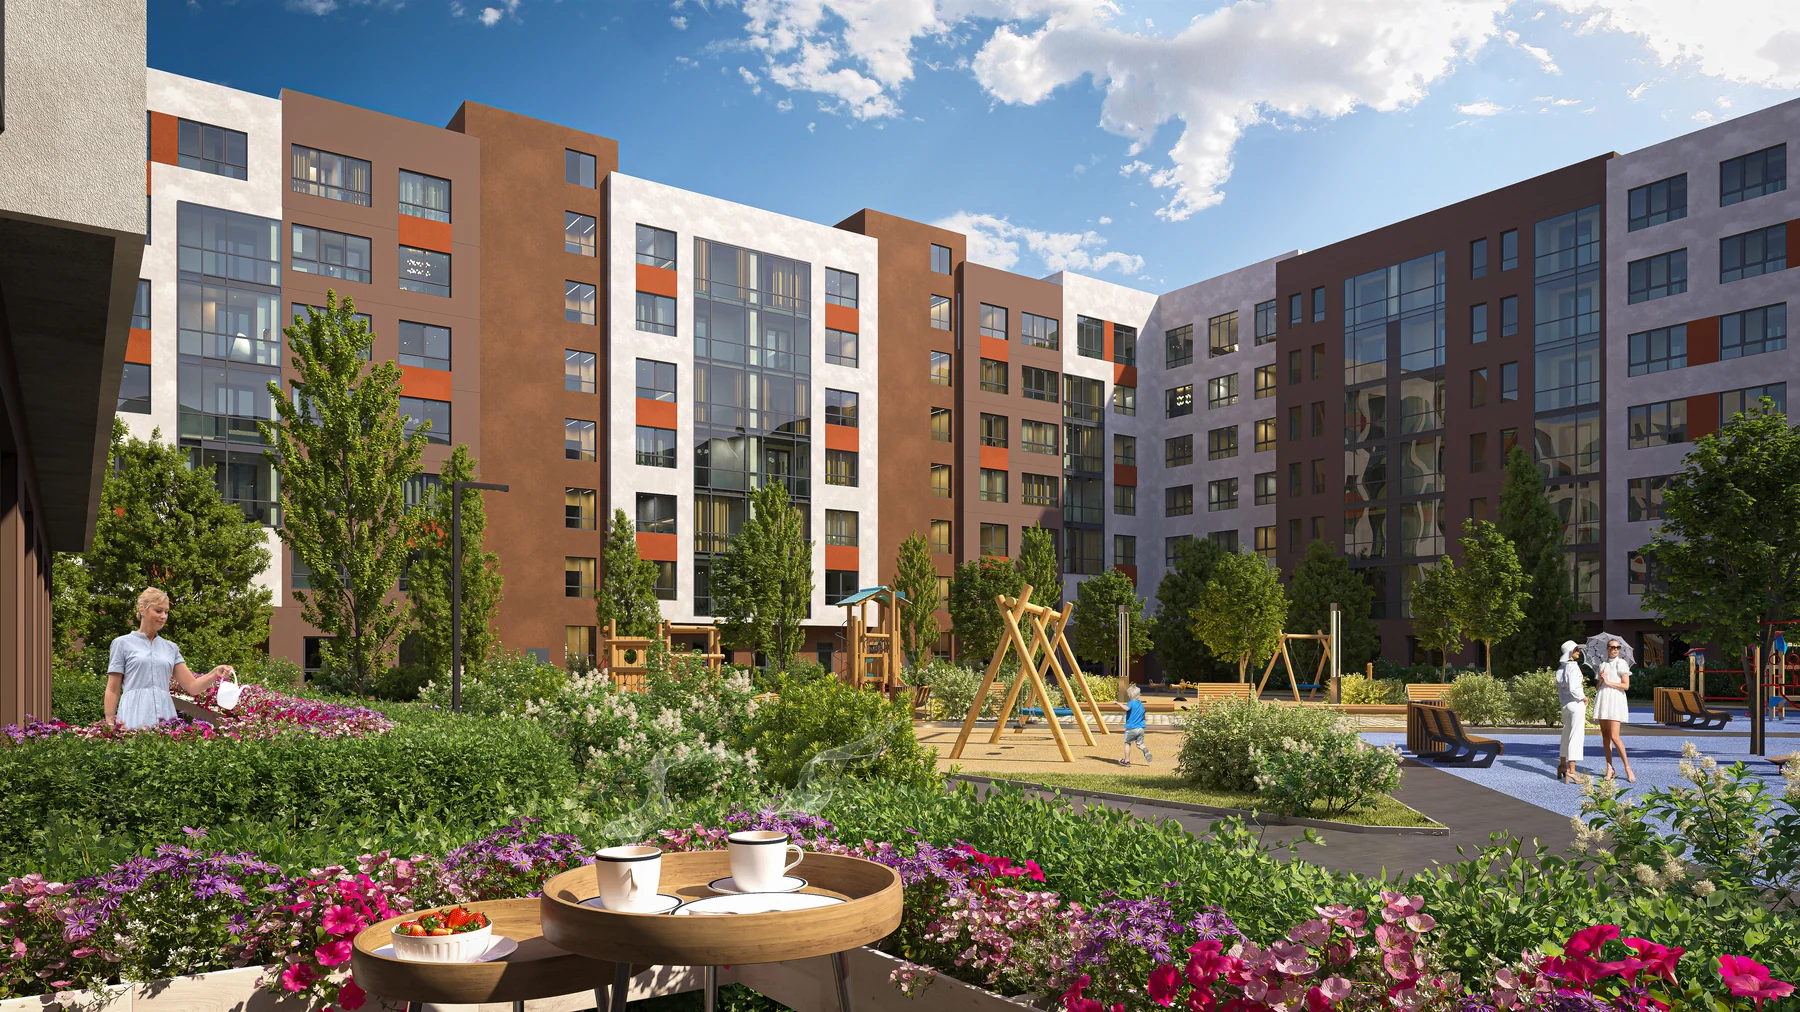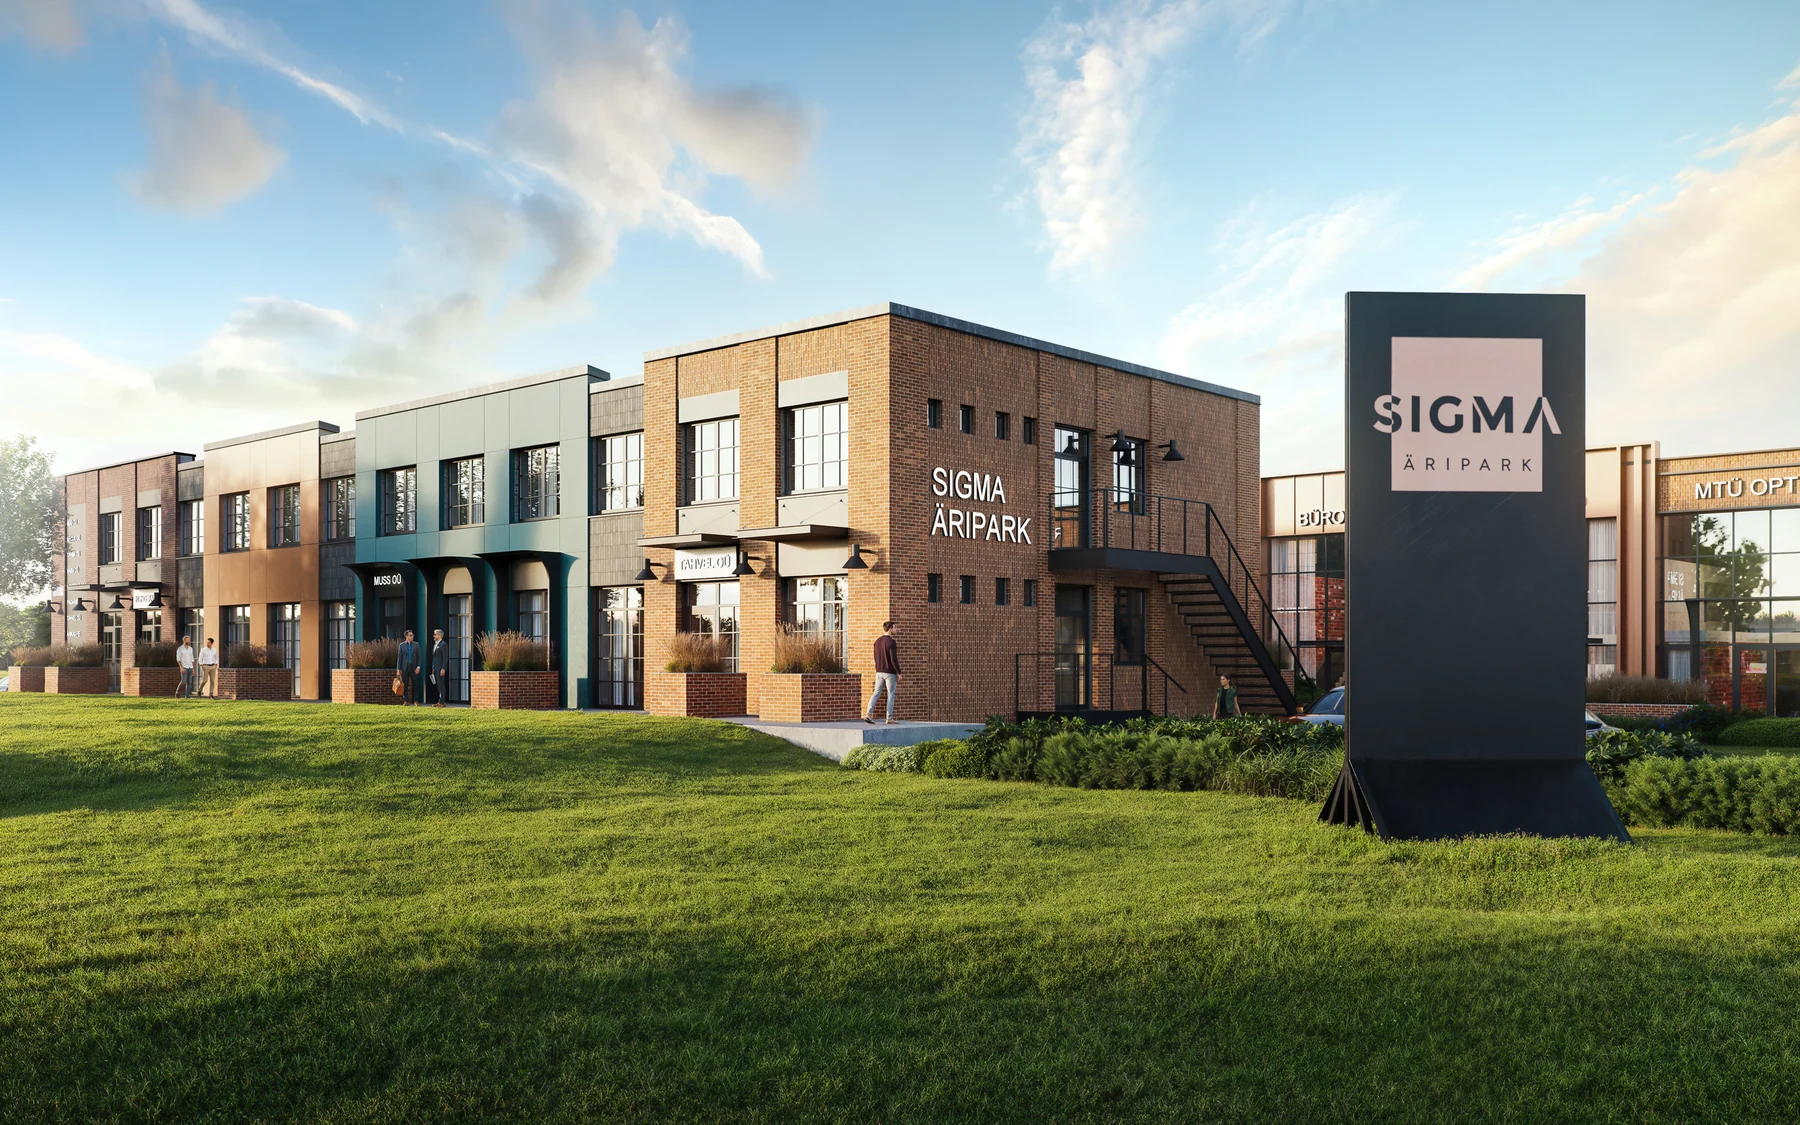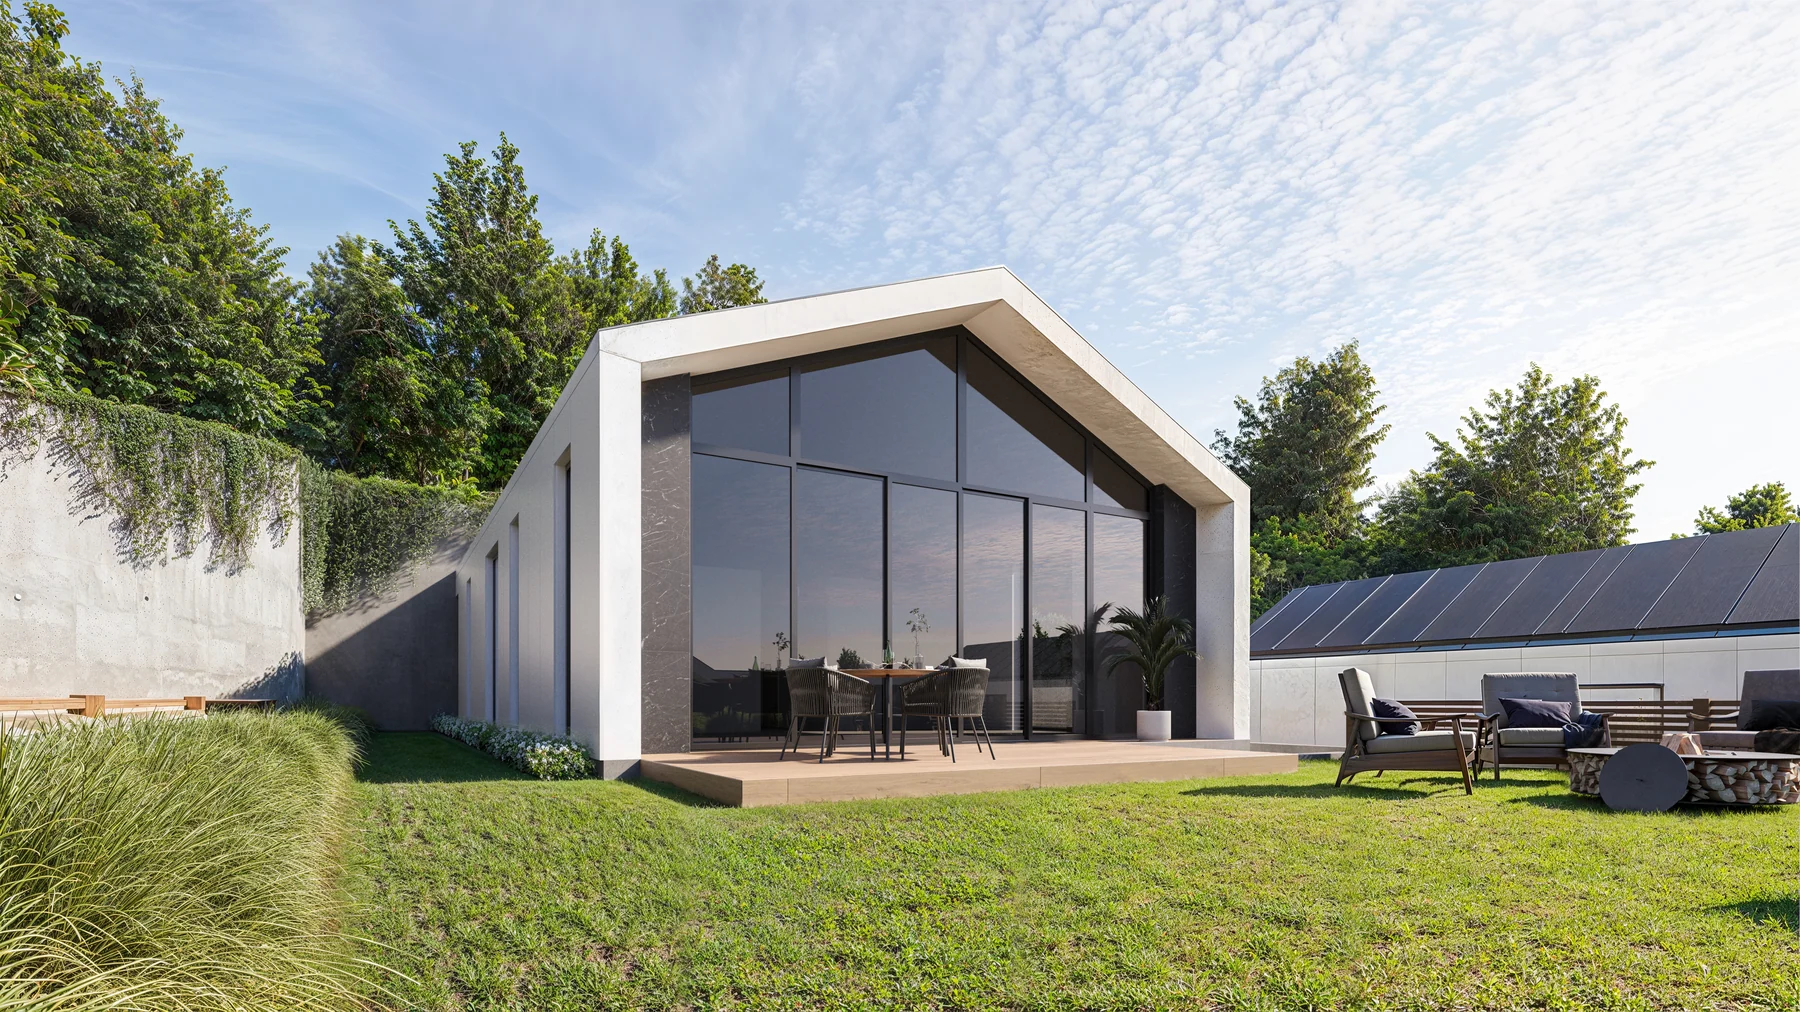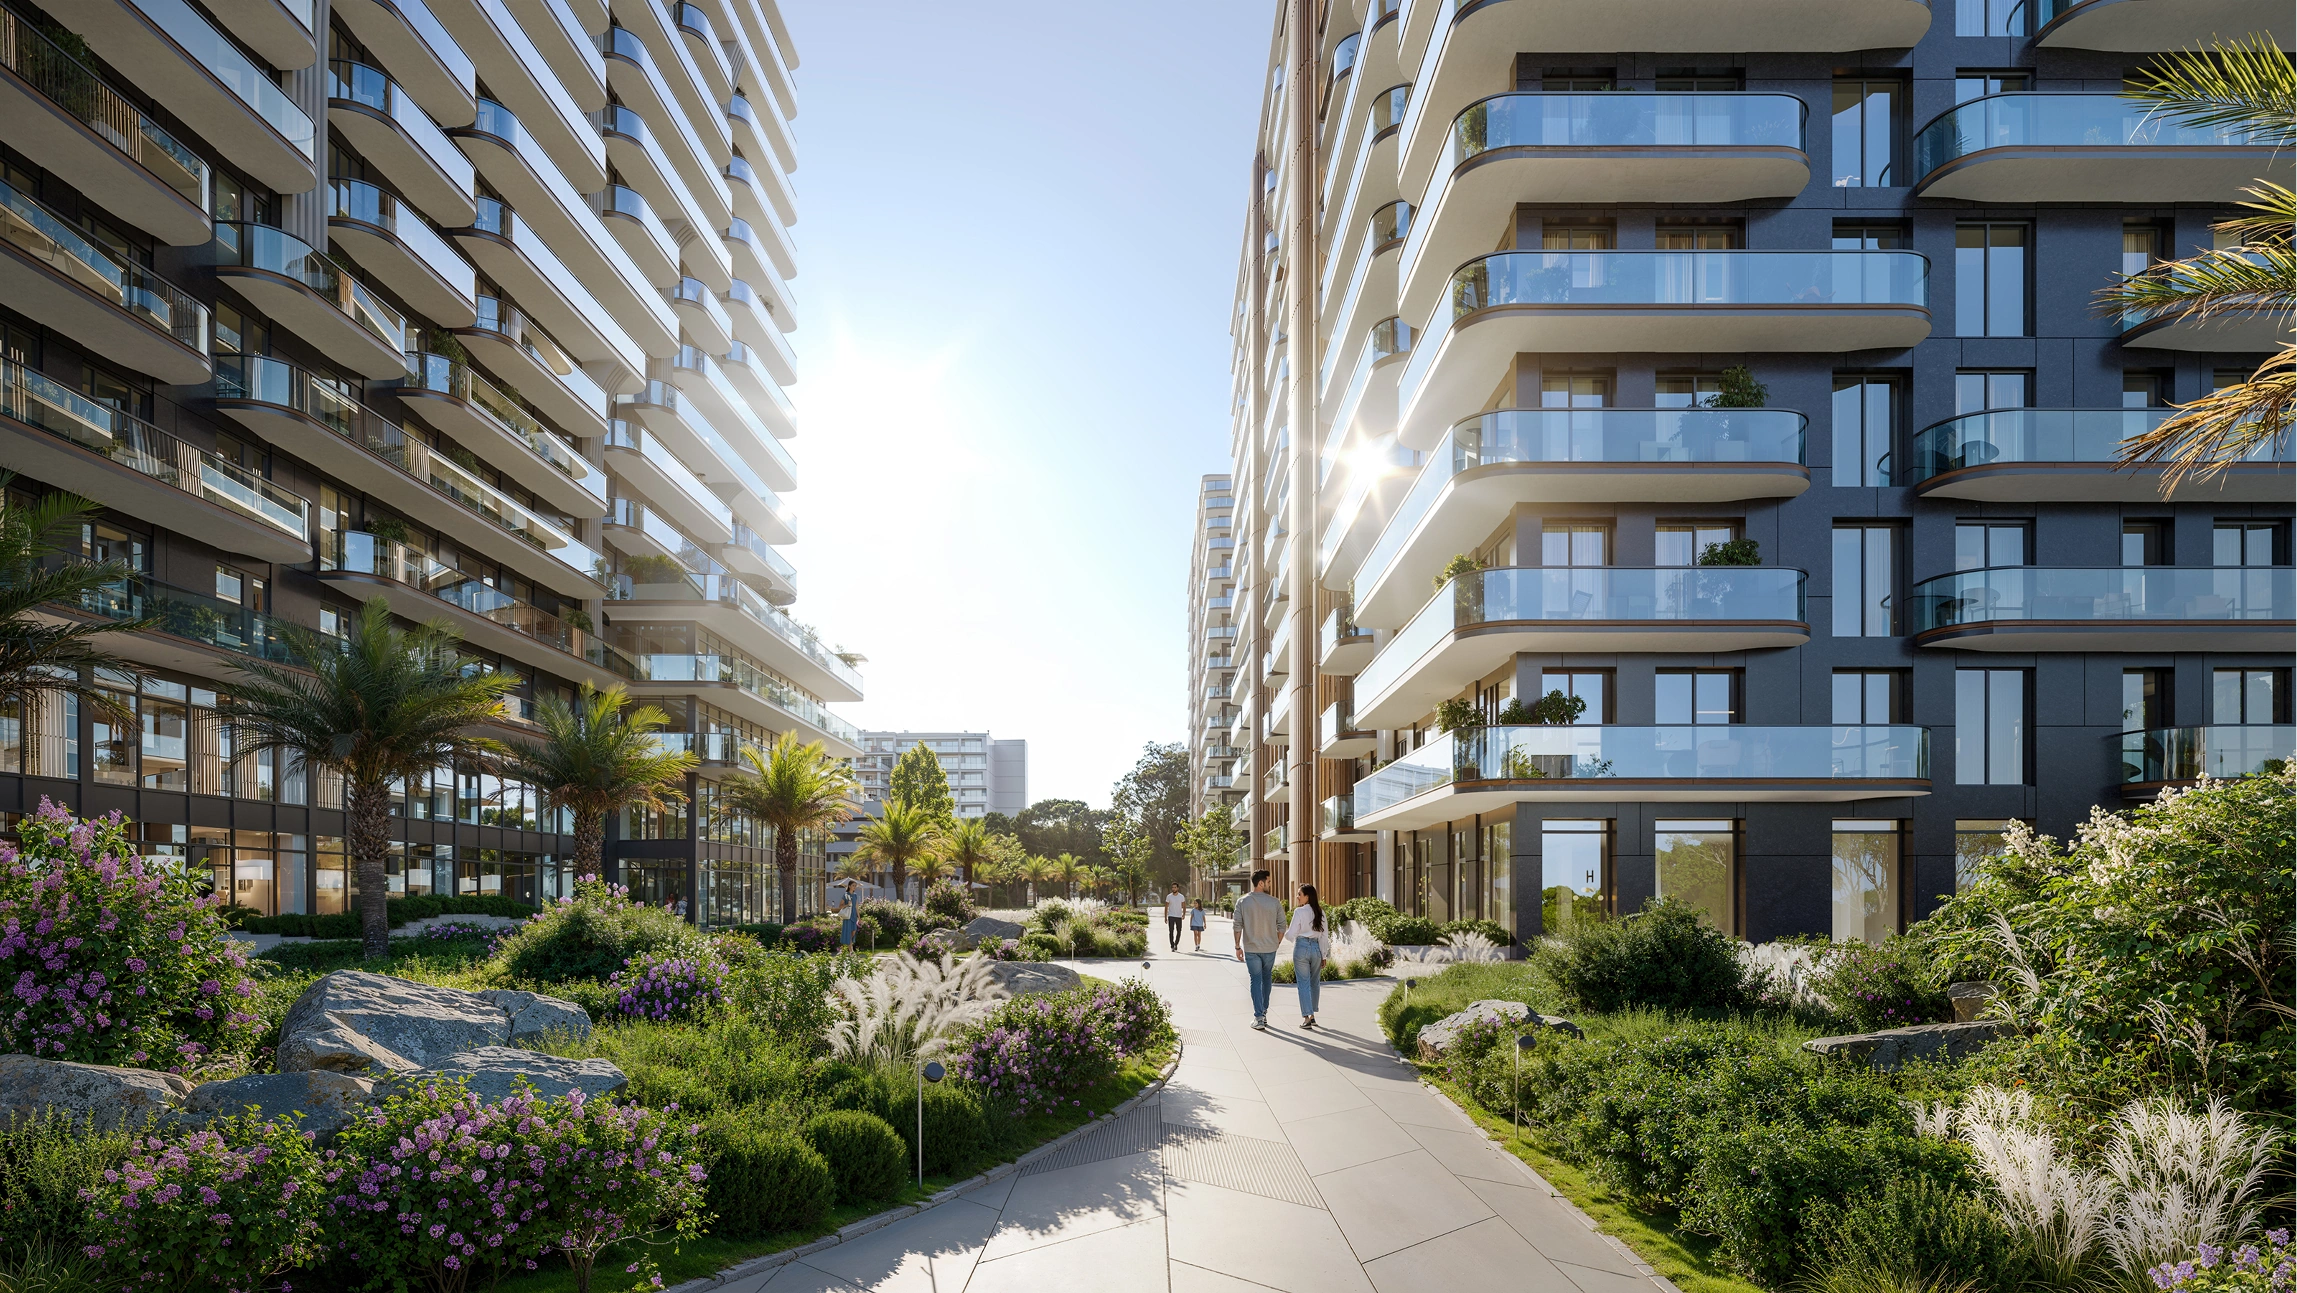
Clients commissioning their first render often expect the process to be roughly: send drawings, receive image. In practice there are several stages in between that shape how accurate, and how fast, the final result will be – and understanding them makes it much easier to brief a studio well.
What we actually need from you
The best starting point is whatever you already have that's most precise: a BIM model, CAD drawings, or Revit files if the project is far enough along; a detailed sketch or reference set if it isn't. We can work from earlier-stage material, but the more precise the source, the less time gets spent on step two below – time that can go toward lighting and materials instead.
Step one: geometry, not decoration
The first build pass is purely structural – walls, floors, window openings, roofline, the building's actual proportions translated into 3D space and checked against your documentation. No materials, no lighting, no context yet. This is deliberately the least visually impressive stage of the whole process, but it's the one that determines whether every later stage is accurate. Mistakes caught here cost minutes to fix; mistakes caught after materials and lighting are built cost hours.
Step two: camera and composition
Before any material work begins, we lock the camera – angle, height, focal length, what's in frame and what's cropped out. This is usually a quick back-and-forth: a couple of options, a decision, and a genuine review point rather than a rubber stamp, because the composition affects everything that follows.
Step three: materials and context
With geometry and camera settled, we build out real-world materials – the specific facade panel, the actual paving material, correct glazing – and populate the surrounding context: neighbouring buildings, landscaping, vehicles, people. This is also where a site's real conditions get incorporated if they matter to the image: existing trees, adjacent structures, street furniture that will actually be there.
Step four: light, render, retouch
Only once all of that is locked does lighting begin in earnest, followed by the final high-resolution render and post-production – color grading, sharpening, occasionally combining multiple render passes for the best result in shadows and highlights alike.
Why the order matters
Every stage in this sequence is more expensive to redo than the one before it. A geometry fix takes minutes; a lighting fix after final materials are locked can mean re-rendering overnight. The practical upshot for clients: the fastest way to get a great final image isn't to rush the early stages – it's to give clear, decisive feedback at the geometry and camera stage, so the studio isn't rebuilding a locked scene later in the process.